
Smoke Playblast
This time I experimented with fluid effects because we want to fill our background with a thick fog rather a matte painting in order to achieve in even more photorealistic feel.


Environment Polishing
This time I experimented more with lighting, rendering and post editing techniques. I randomly added some moss and rock textures in between bumps to make it look more organic. In order to make our environment even more photographic I added just a little bit of chromatic abertion and grain to the finished render. Imitating camera flaws might bring some more life to our animation.
Combined layers with color correction, chromatic abertion and grain:


Combined layers with color correction, chromatic abertion and grain:

Separate Layers:


Further Environment Developement
Even though our project is already handed in there is still a lot to do to finish it. We had to fix a lot of issues and bring everything back to maya. New environment actually starts looking pretty good now.


Canto XIII: Art of Title Page, Poster & DVD Art
(The images on the DVD will eventually be replaced with frames from the final scene)
DVD Artwork


Poster

Art of Title Page

Working on the Matte Painting
Some people said that white background made our scenes look incomplete and now, after adding a matte painting it actually looks better. At the moment I am still refining the camera movement and moving around some new environment assets that Sam made recently.


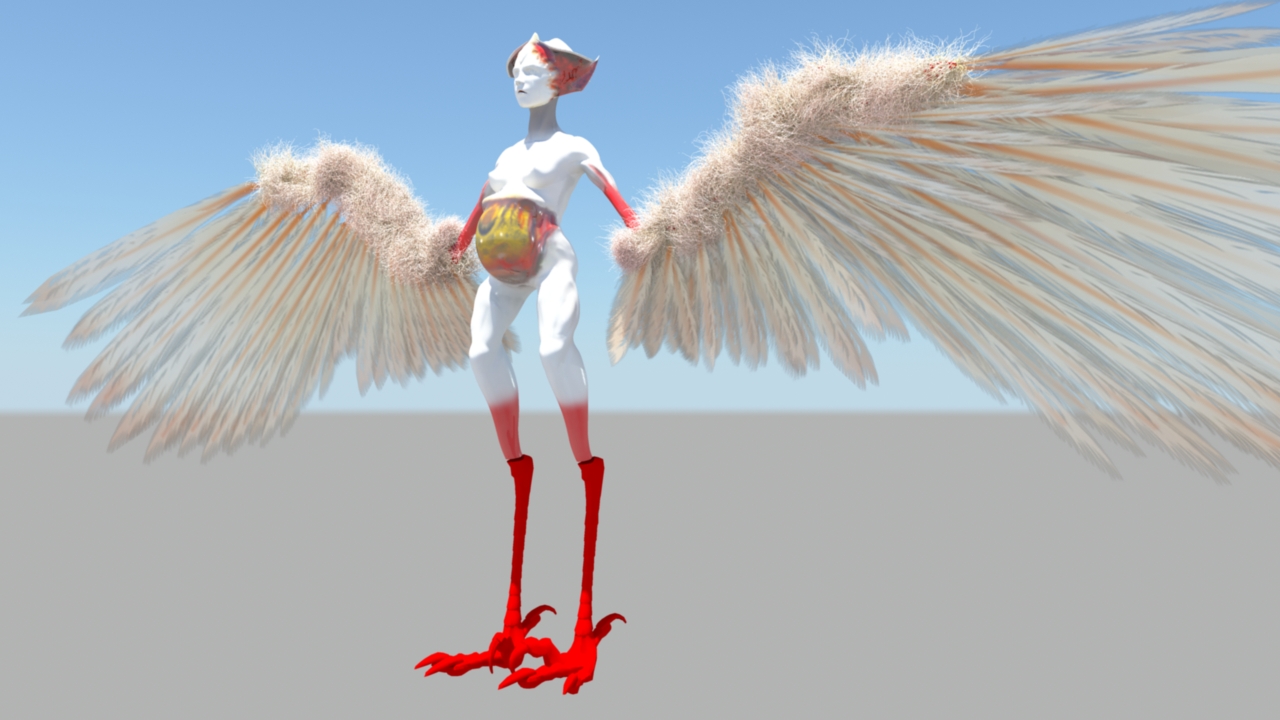
Realistic feathers
I decided to replace part af the wing with a lot more realistic feathers made with Zbrush fibers to make it work with the environment better and make it look more like out concepts.


Blend Shapes tests
Here I was playing arround with different layers to get a nice render and checking my head blend shapes. There are still some overlaping polygons , but it won't take long to fix it and also lens blur helps a lot to hide a lot of other problems.
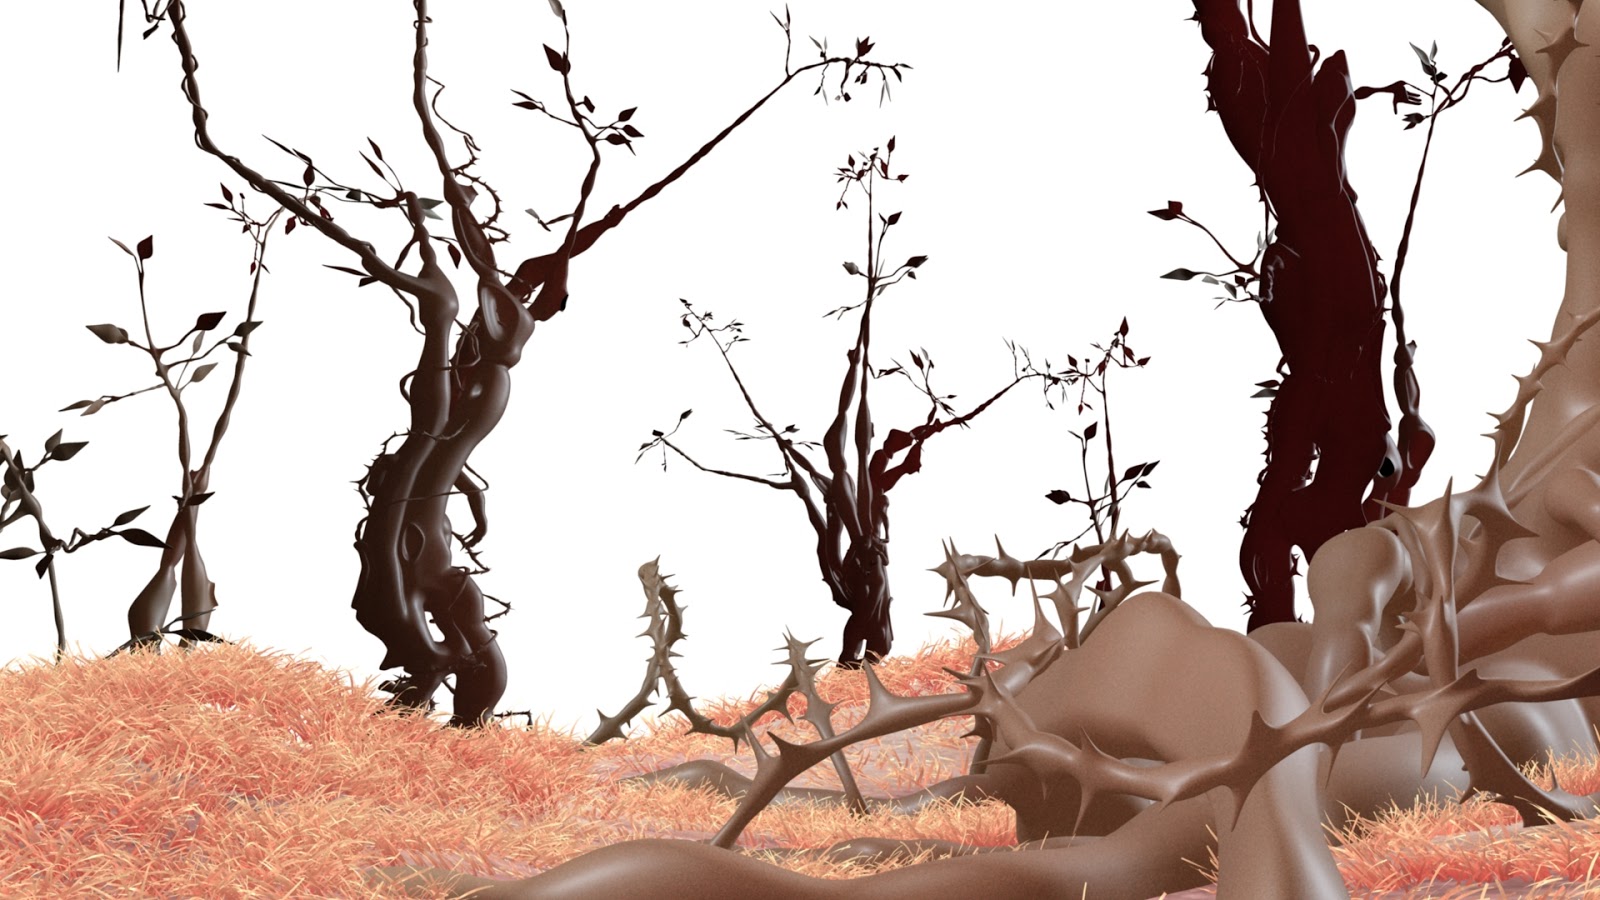
Tree: Ground Texture Experiment
I have created a fleshy looking texture for the ground
surrounding the tree. I have also used nHair to create pale white/pinkish
grass. (Not sure why there is an annoying grey bar over the middle image).


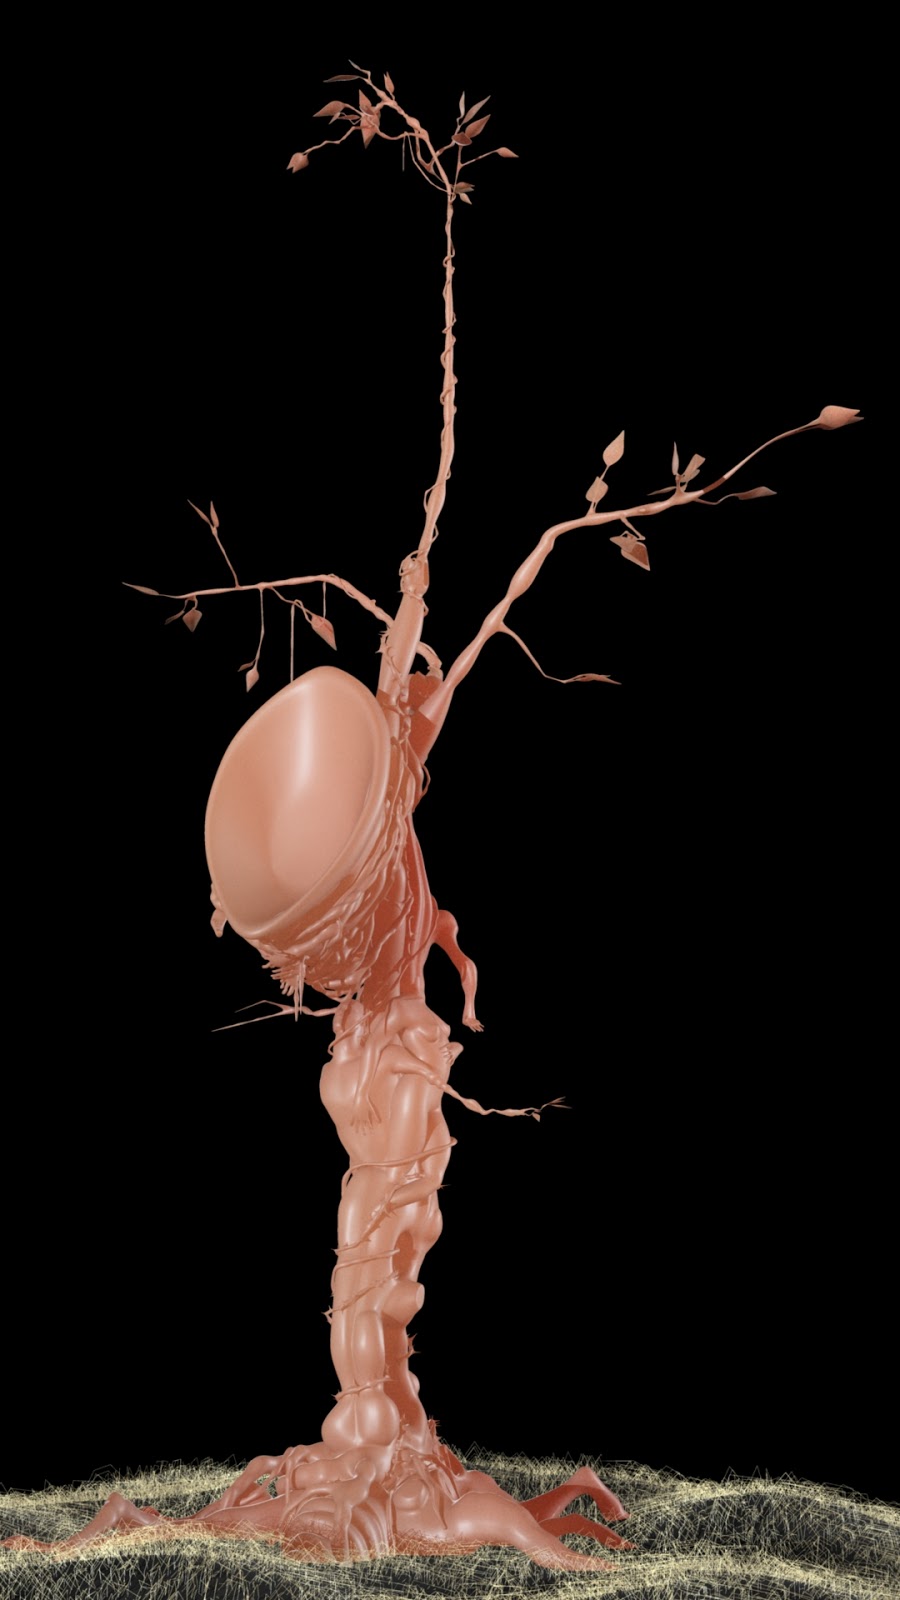

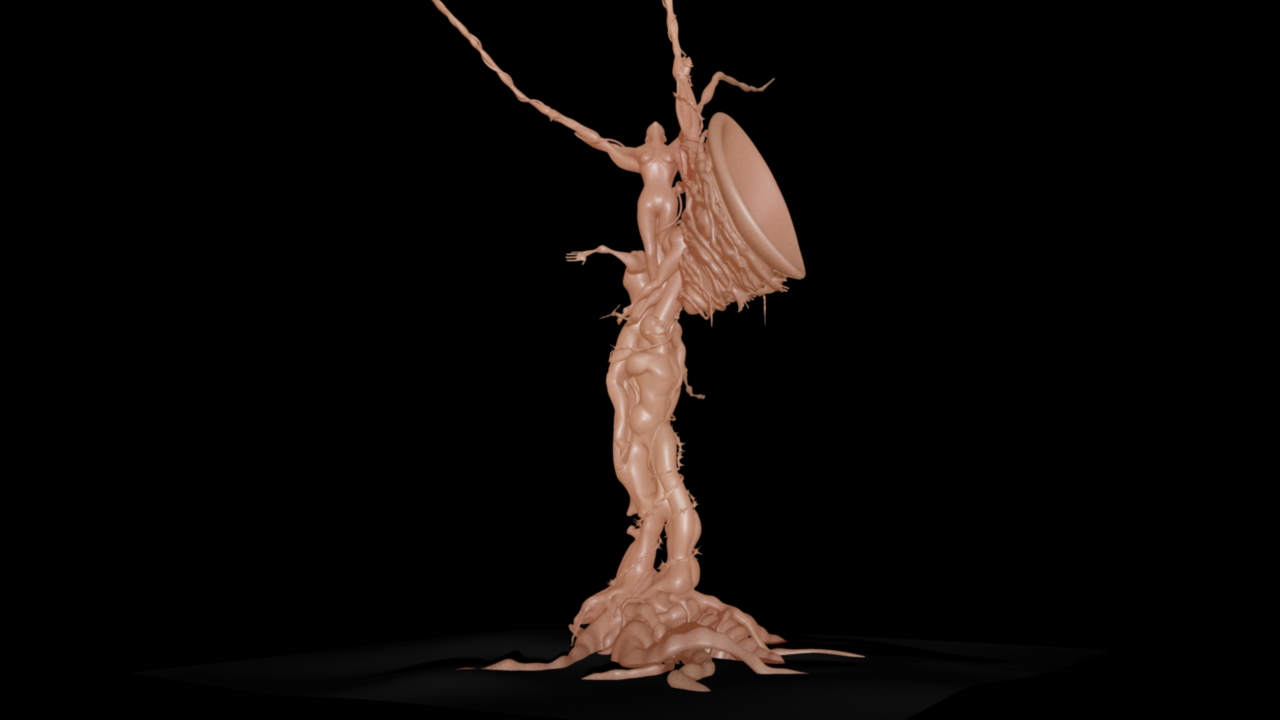
Tree Modelling Progress
Here are some very quick renders with a
basic skin shader to show the progress of the tree model. The only thing left
to do on this model before we take it in to Zbrush is to create a leafy canopy.


Work Update: Texturing
Last couple of weeks were very quiet on our blog, because we were completely overwhelmed with work. This is a quick update of how far I am with the Harpy. I almost sorted out displacement and normal maps and halfway trough the texturing part. Recently I signed up for a month to a digital tutors site and learned lot's of new techniques and tricks that will help us to improve the final animation. One of those is 3d texturing in photoshop. It is quick, easy and I highly recomend everyone to try it out.


First Draft Animatic
This animatic is more about timing rather than the actual
contents of the shots. I think the final part may need the most work. It may be
a bit too over the top with the flickers (more seizure inducing than scary or
suspenseful).
Final Revealed Harpy Concept
This time I took the best bits out of every concept I've done before and I believe we have the best result so far.


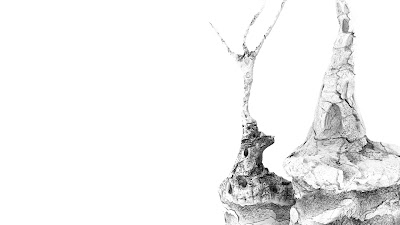
Tree Combo Concept
After drawing my storyboard I was inspired to create a quick
concept by reusing Dom's concepts.

Subscribe to:
Posts (Atom)